I suppose this is kind of a tutorial. Kind of? I am not going to go step by step, but I have tons of pictures here. You can make this cake on your own. I promise. It's really easy.


It's hard to tell but one of the layers is a crunchy cookies layer. Think DQ ice cream cake. I spent quiet a while on the phone with my lovely mother trying to figure out what I could use to make my own crunchy cookie layer. We started with and ended up back at Oreos.

But it's not that easy. You see... we don't want the cream filling. We only want the chocolate cookie part. So grab a knife, a zip lock baggie and a small container and plop down infront of the TV. Disassemble all of the cookies. Keep the cream filling for... um... a rainy day? (:

Done and done. The cream filling is shelf stable. It can just hang out in a cabinet somewhere. Until, of course, you go on one of those I NEED SUGAR NOW rampages and eat it all with a spoon right out of the baggie.

Crumble up the cookies and then add in a good amount of the hot fudge topping. Microwaving it first makes for easier pouring. You want to add about 1 full cup to the Oreo cookie bits. Make sure each piece is even coated.


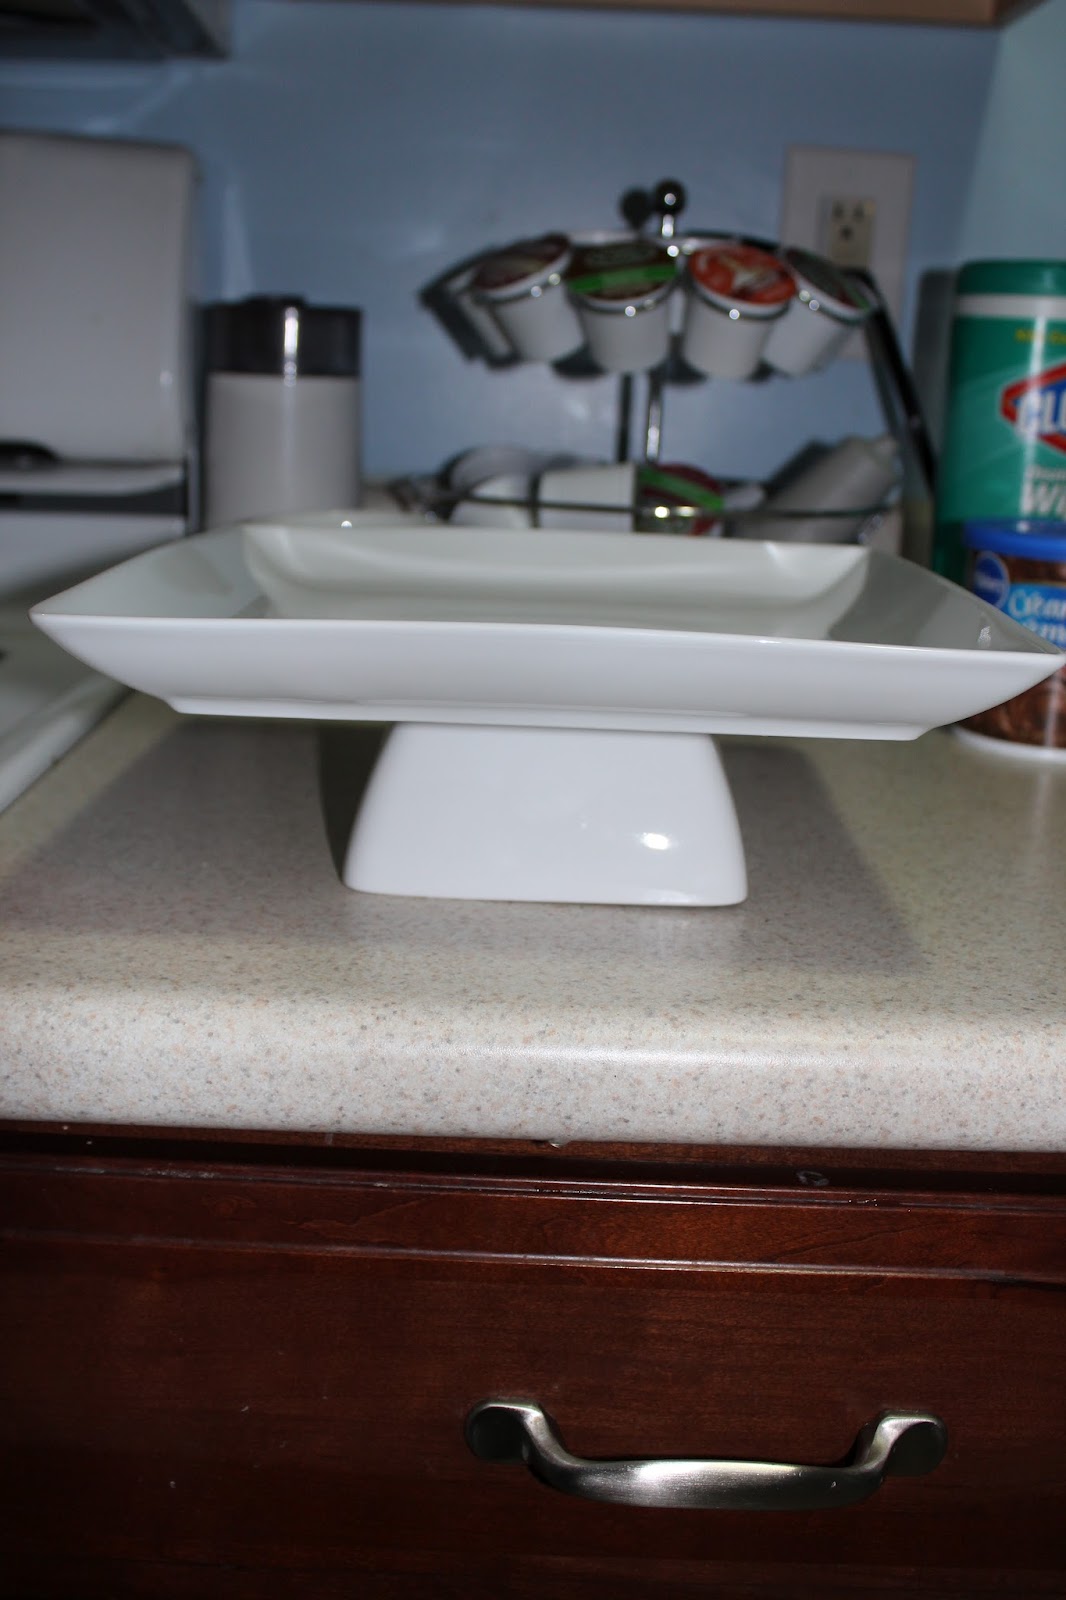
I made my own cake pedestal. Jealous?

I baked off 2 9" round chocolate cakes earlier in the day. After they cooled I split them both in half. This leaves you with 4 cake layers. Stick the layers in your freezer for a few hours... being able to handle the layers without them breaking on you is critical.

If you take 4 strips of wax paper and place them on the edges of your cake plate they will serve as a barrier for any frosting/chocolate ruining the finished look of your cake. Does this make sense? You'll build the cake ontop of this now, and when all is said and done we will pull these out and the cake plate will be nice and clean.

Confession: I used boxed cake mix and jarred frosting. Oops. Yes you will use all 3 jars of frosting. And the entire container of hot fudge. And the Oreos.

Even though I didn't need to pipe this cake (layer cake, not cupcakes) I find a piping bag to be SO MUCH easier than using a knife to spread icing. I also wanted to try out this round tip that I have. I wasn't sure how thick the frosting would come out...


This, my friends, is the reason why no one should ever use a round tip to pipe chocolate icing. Because. Well. It looks like poop....


Important: if you baked 2 9" rounds that means you have 2 perfectly flat layers. Right? The bottom part of both 9" rounds is perfectly level. Now think this through... where do we want the perfectly level layers to be? Right in the middle of out cake? NO. We want them on the top and the bottom. Duh.

Cake, frosting, cookie crunch. Warm it back up in the mircowave and then use your hands to spread it around. Next time I do this I will spread the cookie crunch into a 9" baking pan and press it into one layer. I didn't really think that through this time and the cookie layer was really too thick for my liking.


After the cookies layer, add the next cake layer.

Essentially we have cake, frosting, cake, cookie crunch, cake, frosting, cake. Bam.


Now I used my piping bag to fill in the big gaps between the layers of the cake.


I had "extra" icing. So I got out some pretzels. Yum.

After you spread the cake with its finaly layer of icing and make sure there are no gaps... it's time to let her chill. For as long as you can manage. Put her in the fridge. Walk away. She needs time to set up.

I waited an hour.

Pull off the wax paper. All of that frosting would be on your cake plate... but it isn't. Good job!


I added 8 swirls on top of my cake...

And then I added a single chocolate chip to each one.


Use a sharp knife to cut.


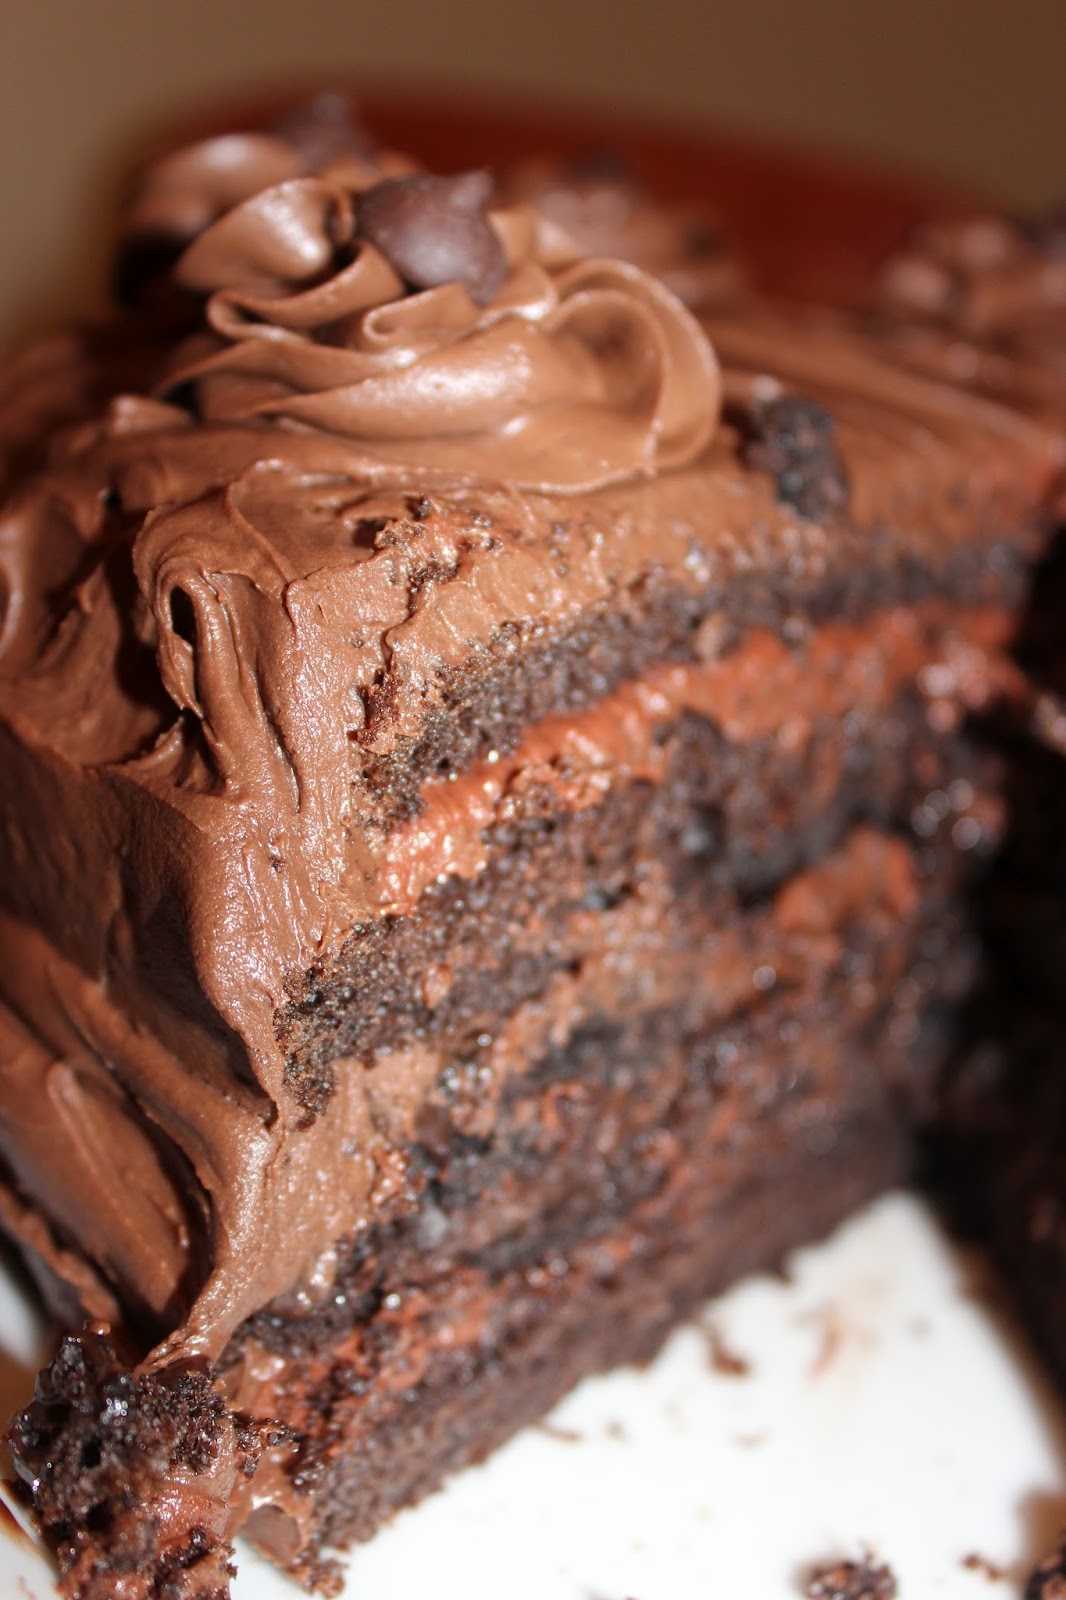


Enjoy!